
Shopping Cart
 (1).jpg)
This guide walks through the GordoTEK all-in-one setup for Panaeolus cyanescens (Pan Cyan) in nine steps: mixing substrate and grain spawn, a warm water-bath incubation of six to eight days, the casing layer, fruiting conditions, care between harvests and harvesting. The substrate tote sits in a water bath heated to about 28 °C (82 °F), and no artificial light is needed.
Updated 2 October 2026 · Mycotrop team
GordoTEK kits are not in stock at the moment. Current kits are listed under mushroom grow kits, including the Panaeolus cyanescens grow kits from Mycotek. Fresh Mushrooms kits have their own Fresh Mushrooms grow kit guide.
What you need
- The GordoTEK kit: bag 1 (substrate), bag 2 (colonised grain spawn), bag 3 (topsoil for the casing layer) and the screen
- Two totes of the same size: one for the substrate, one for the water bath
- An aquarium heater and a thermometer
- A spray bottle and water
- Gloves and alcohol for disinfecting, or a sterilised mixing tool
- Tweezers and scissors
1. Prepare the substrate and spawn
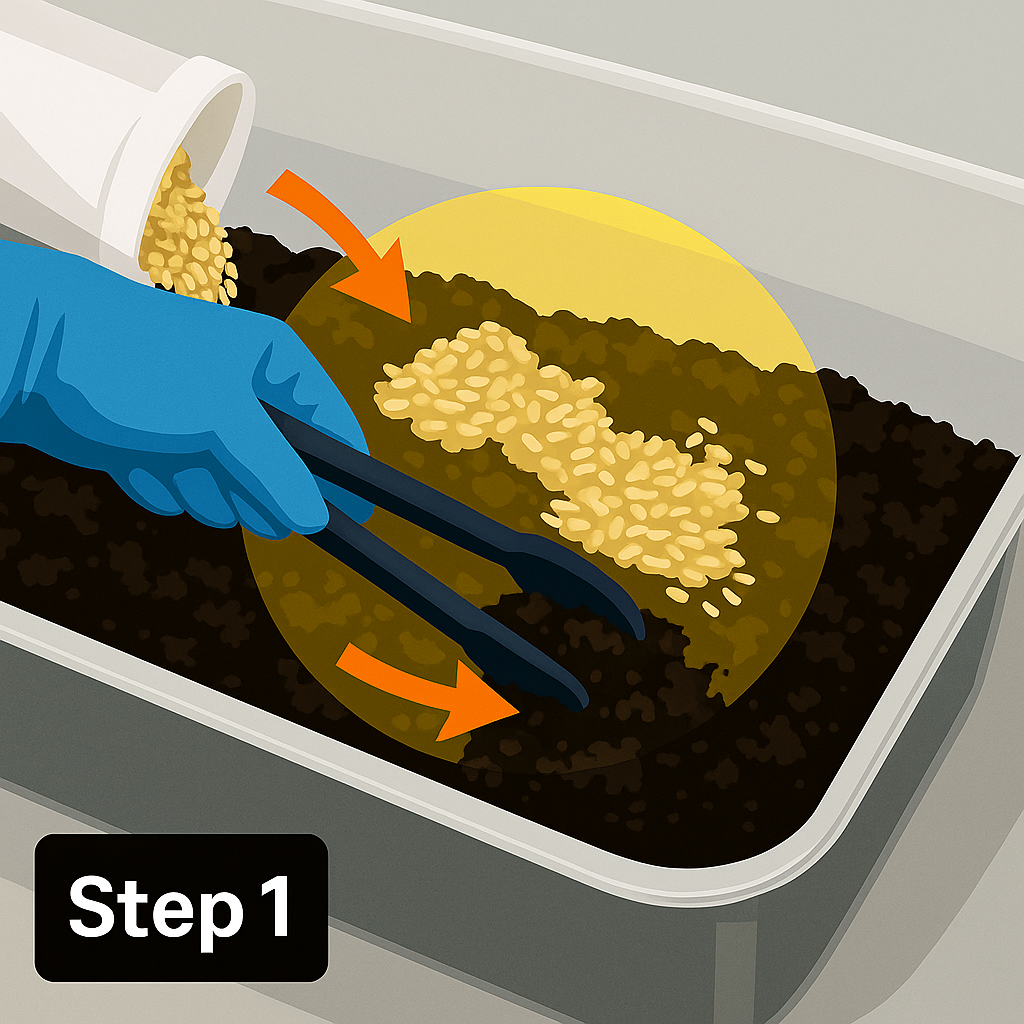
Pour the substrate (bag 1) into the first tote. Spread the colonised grain spawn (bag 2) evenly over it, then mix the two with a sterilised tool until the grain is evenly distributed. If you have no such tool, disinfect your gloves with alcohol and mix the grain and substrate by hand.
2. Set up the incubation environment
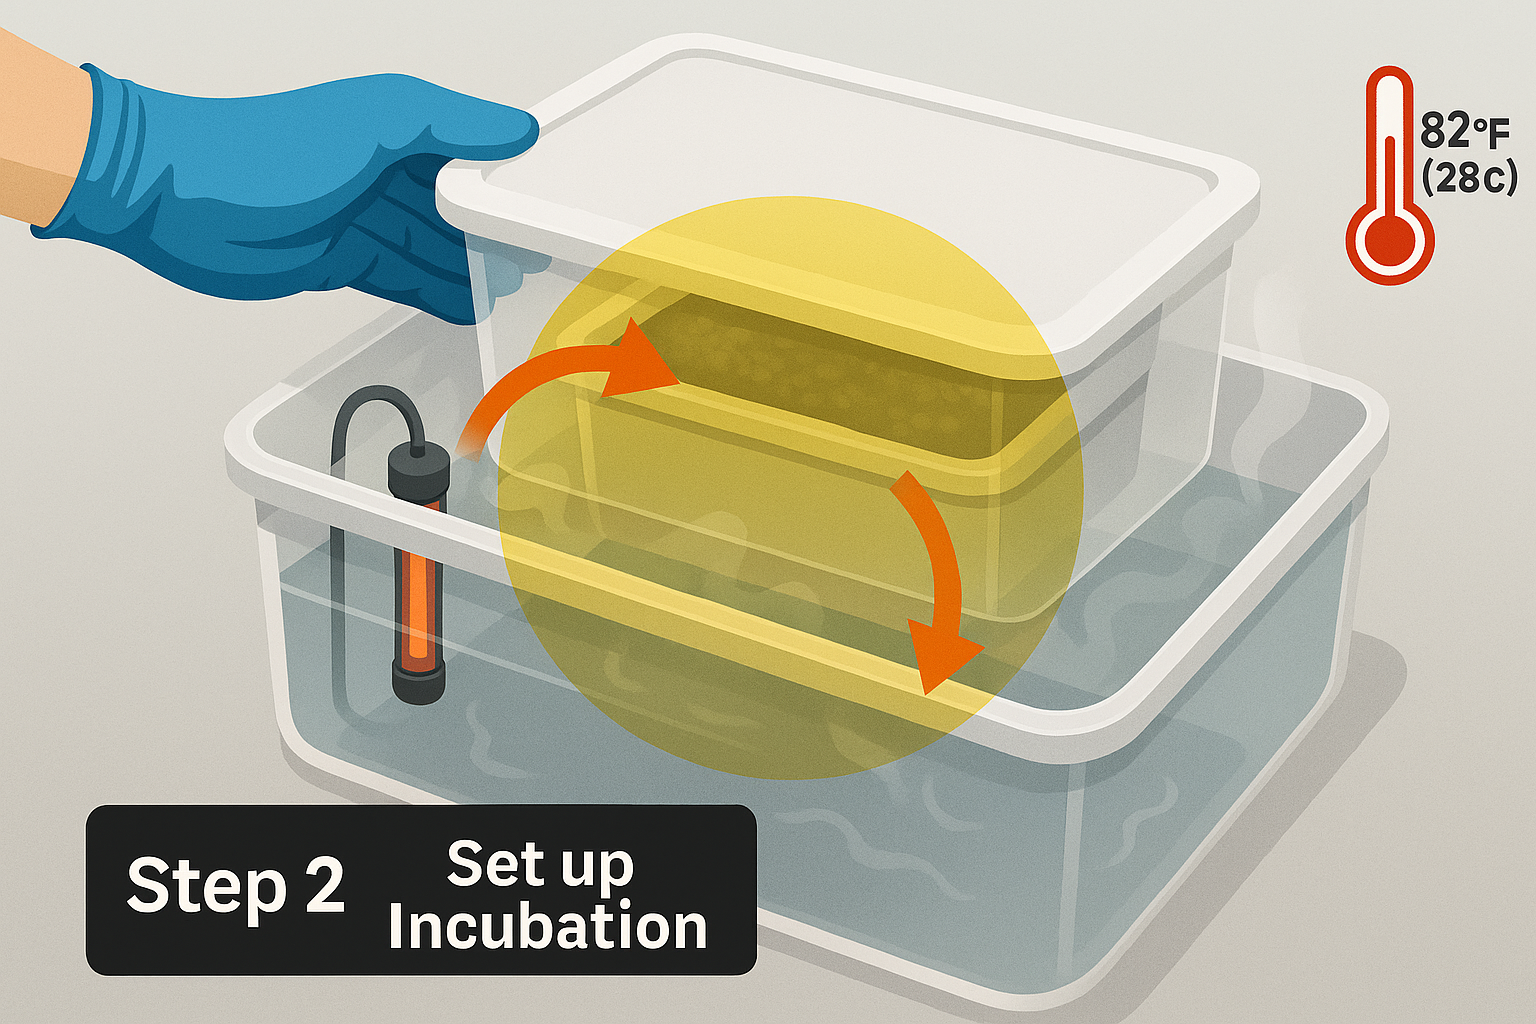
In this method, Panaeolus cyanescens is kept warm and very humid. Fill a second tote of the same size halfway with warm water and place an aquarium heater in it, set to 28 °C (82 °F). Put the first tote, with the mixed substrate and its lid closed, inside the water-filled tote. This creates a warm, humid environment around the substrate.
3. Incubation period
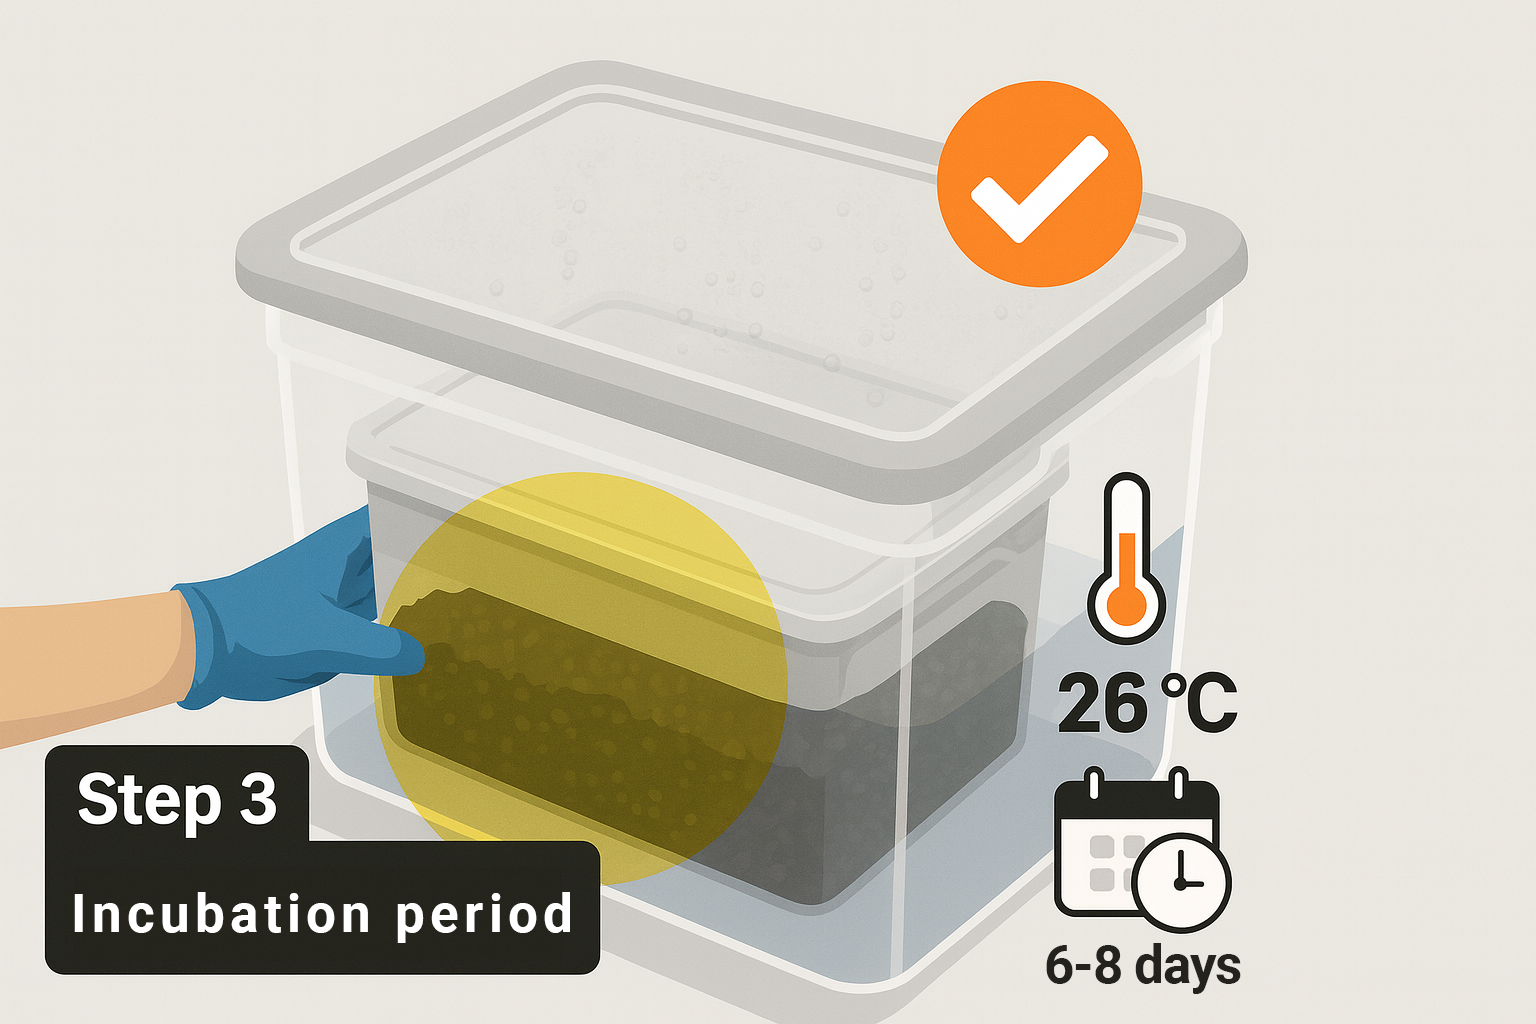
Leave the substrate to colonise for six to eight days without opening the lid. Check the water temperature regularly with a thermometer: it should stay at about 28 °C, in the low 80s °F.
4. Apply the casing layer
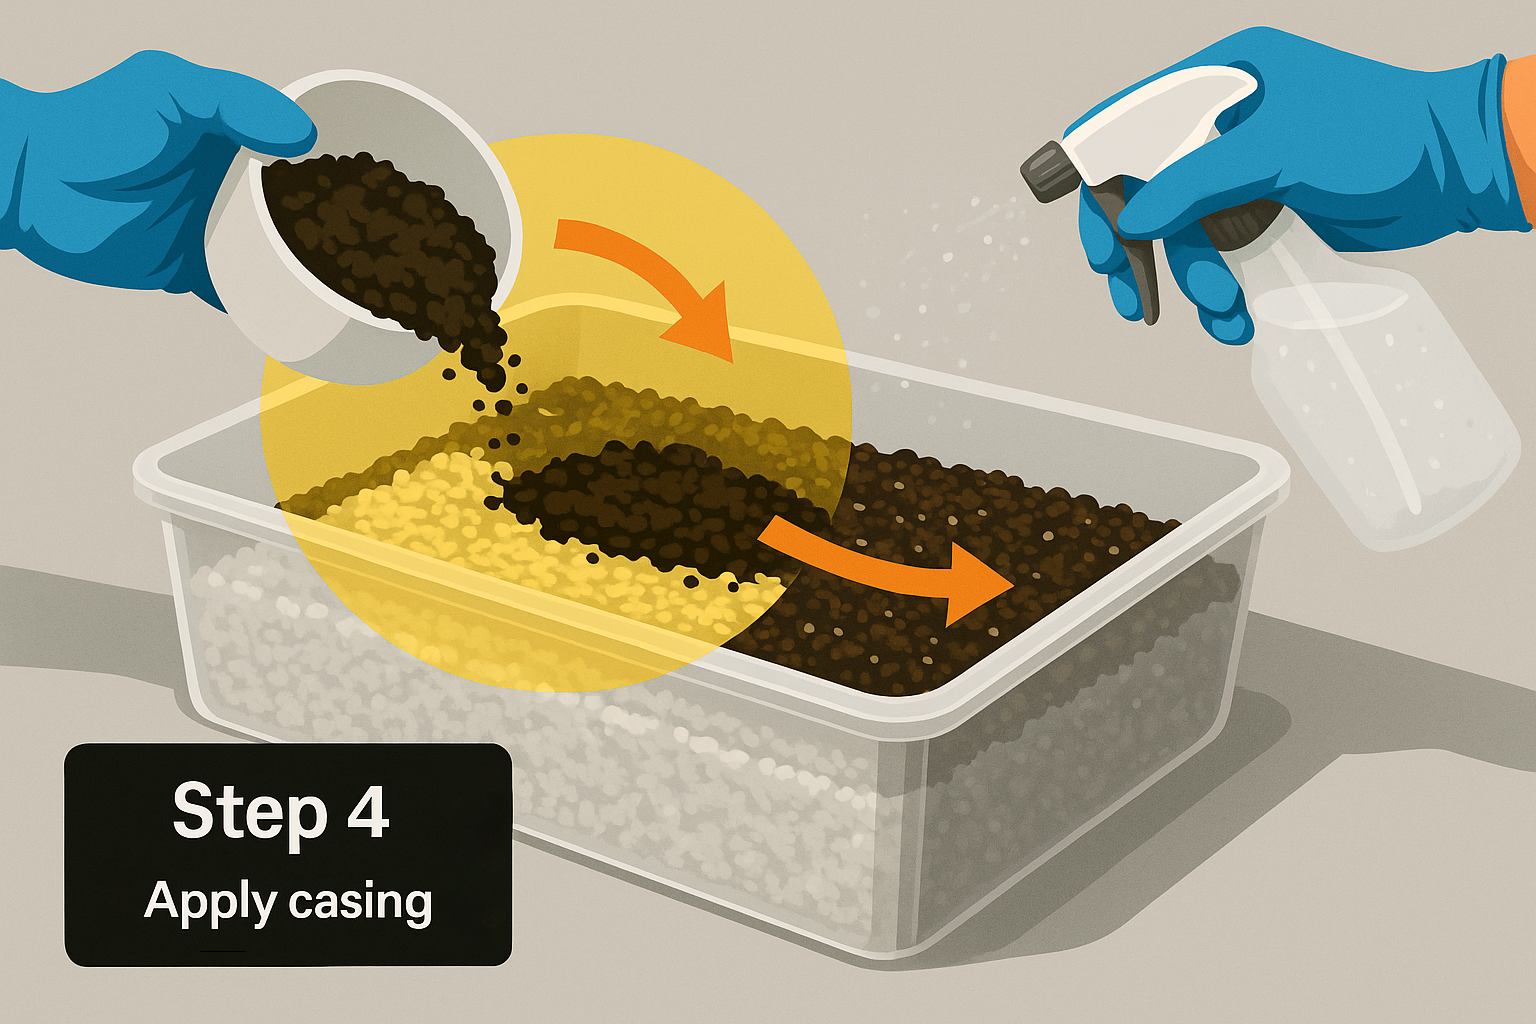
Once the substrate is fully colonised, usually after six to eight days, spread the casing mix (bag 3) evenly over the surface. Spray the casing layer heavily with water so that it stays moist.
5. Switch to fruiting conditions
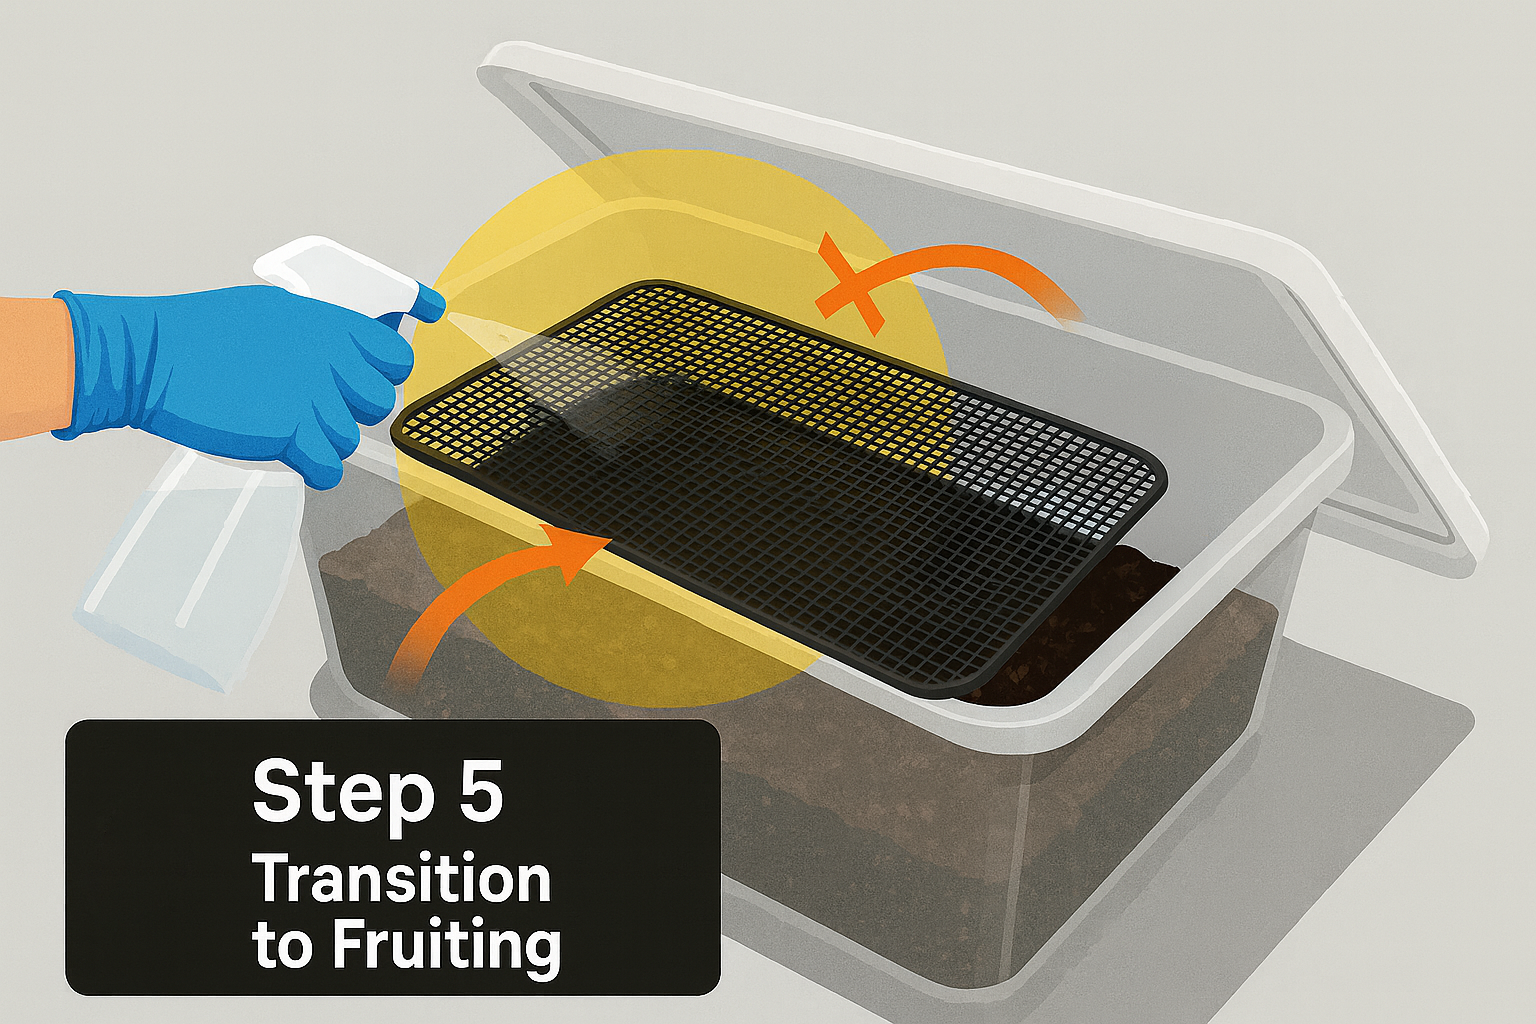
From this point on, the tote needs fresh air exchange without the substrate drying out. Mount the supplied screen over the tote and spray both the casing layer and the screen to keep humidity high. Water the setup three times a day: in the morning, in the late afternoon and at night. Also spray the underside of the lid and rest it on the tote at an angle, so that two corners stay open to the air. Turn the lid at each watering to keep the moisture even and refresh the air.
6. Monitor growth and maintain the tote
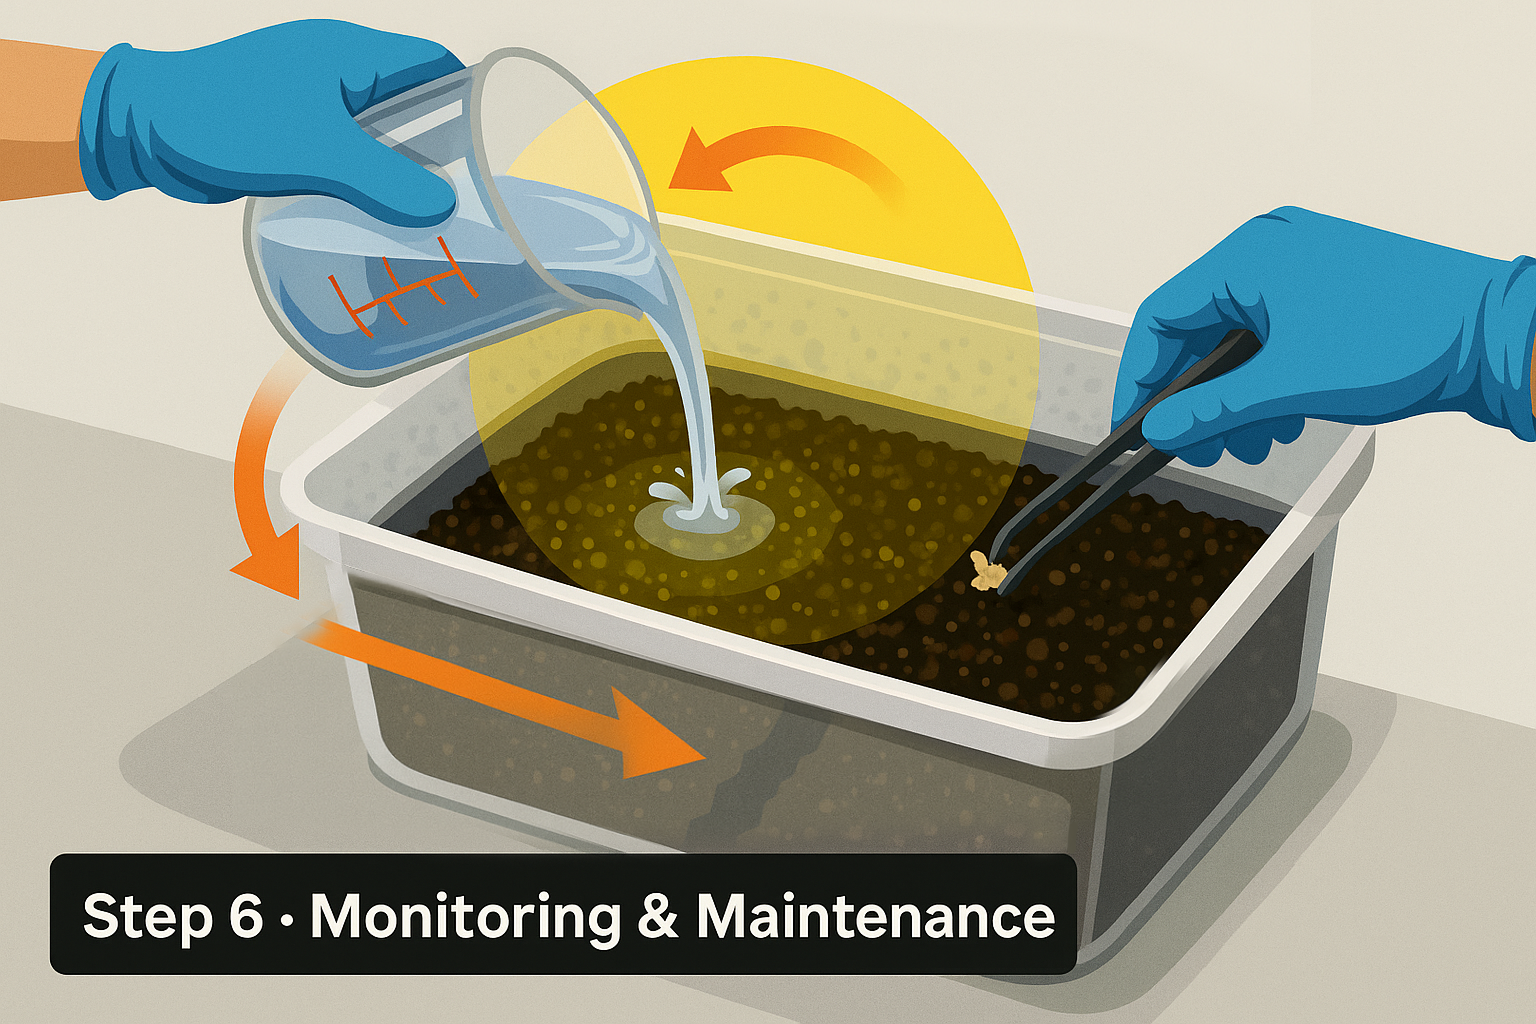
If gaps form between the substrate and the tote wall, pour a small amount of water into them. After each harvest, water the substrate surface slowly with about 120 ml (½ cup) of water. If excess water collects, tilt the tote to drain it. Between harvests, use tweezers to remove debris, stumps and aborted pins from the surface.
7. Manage successive harvests
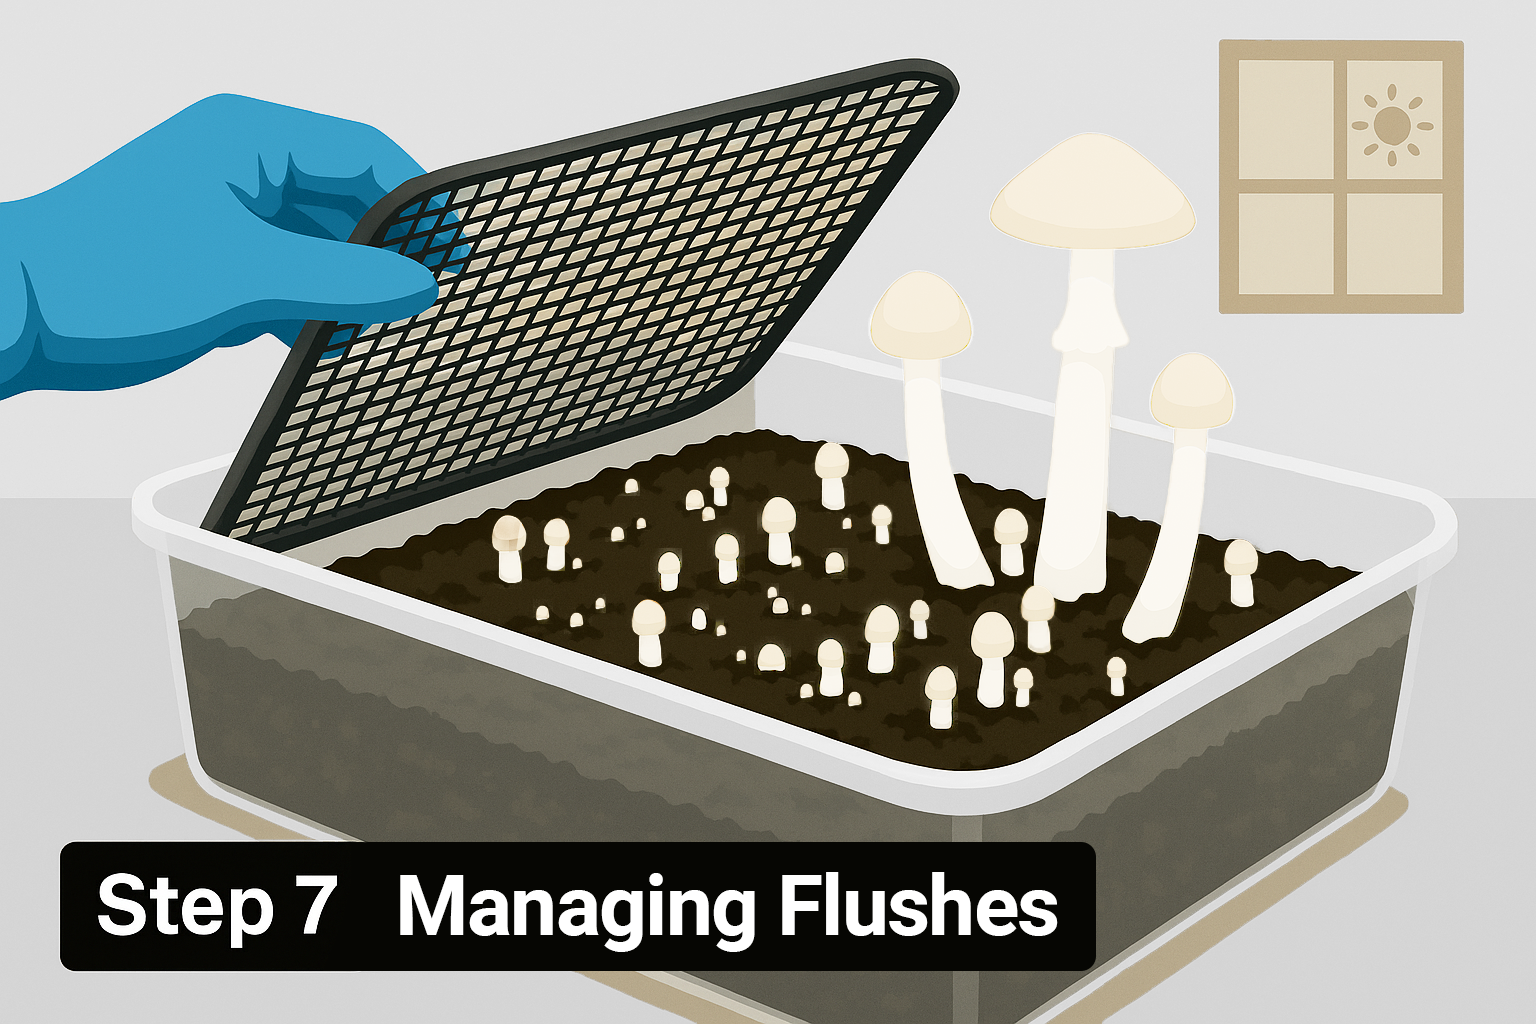
The headspace between the substrate and the screen, about 8 cm (3.2 in), leaves enough room for the fruit bodies. If they reach the screen, they keep developing normally. No artificial lighting is needed: indirect daylight is sufficient.
8. Harvesting
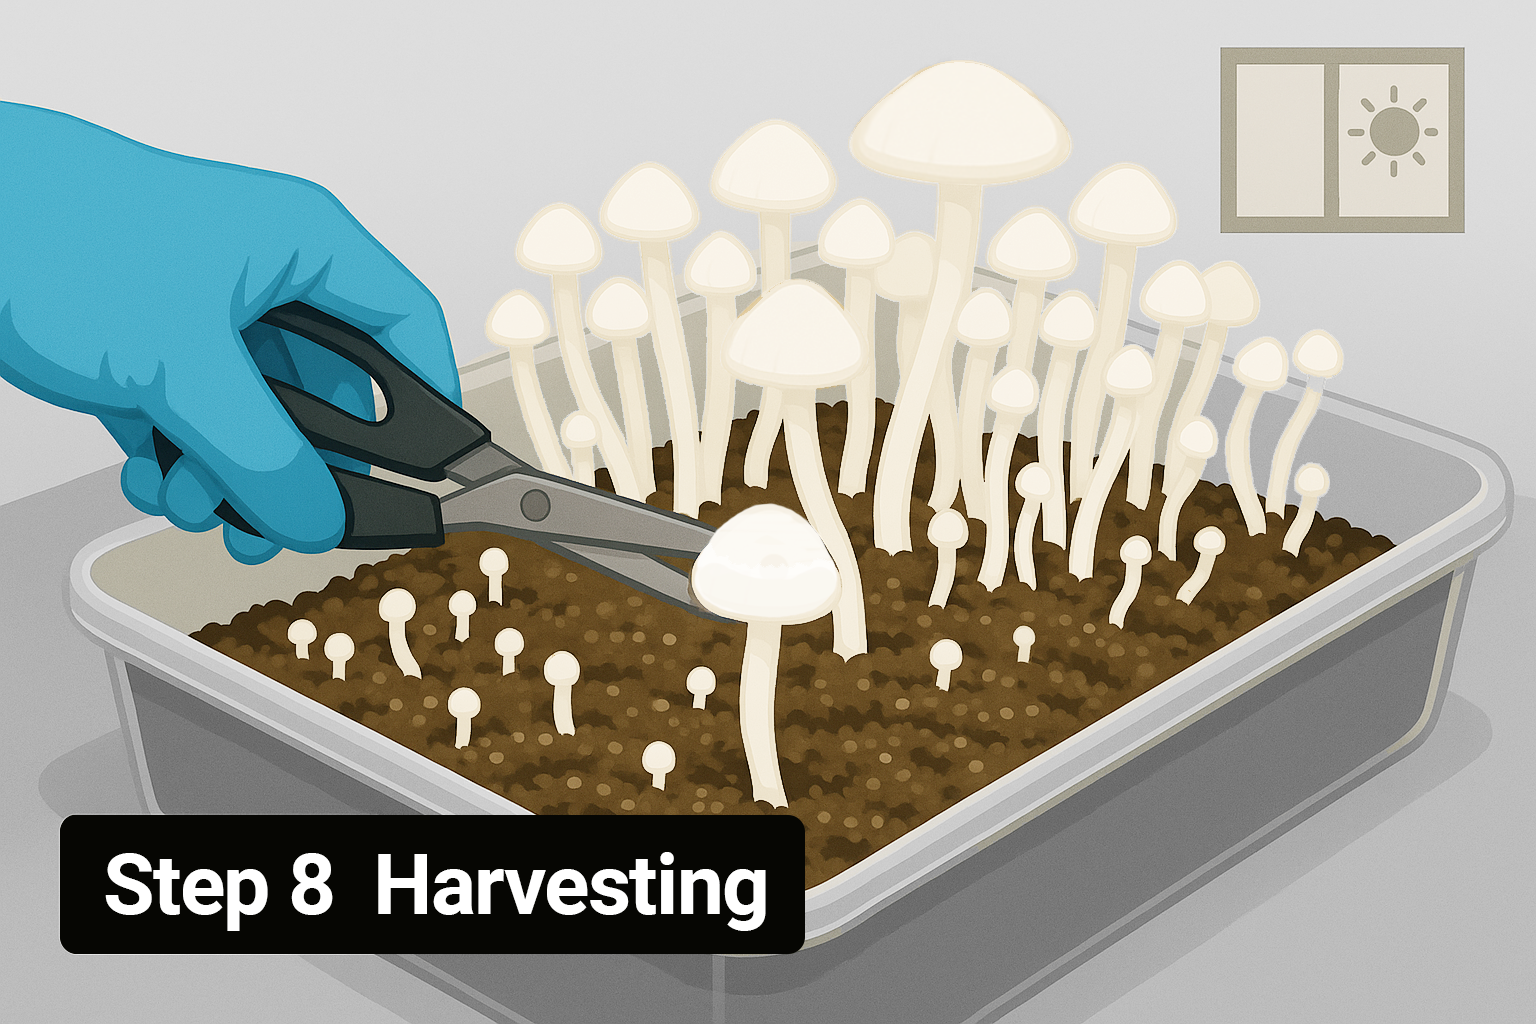
Harvest when some of the caps begin to drop spores. You can see this as black spore dust collecting on the caps below. Cut the whole crop with scissors, or leave a few less mature fruit bodies to grow for another day.
9. Additional notes
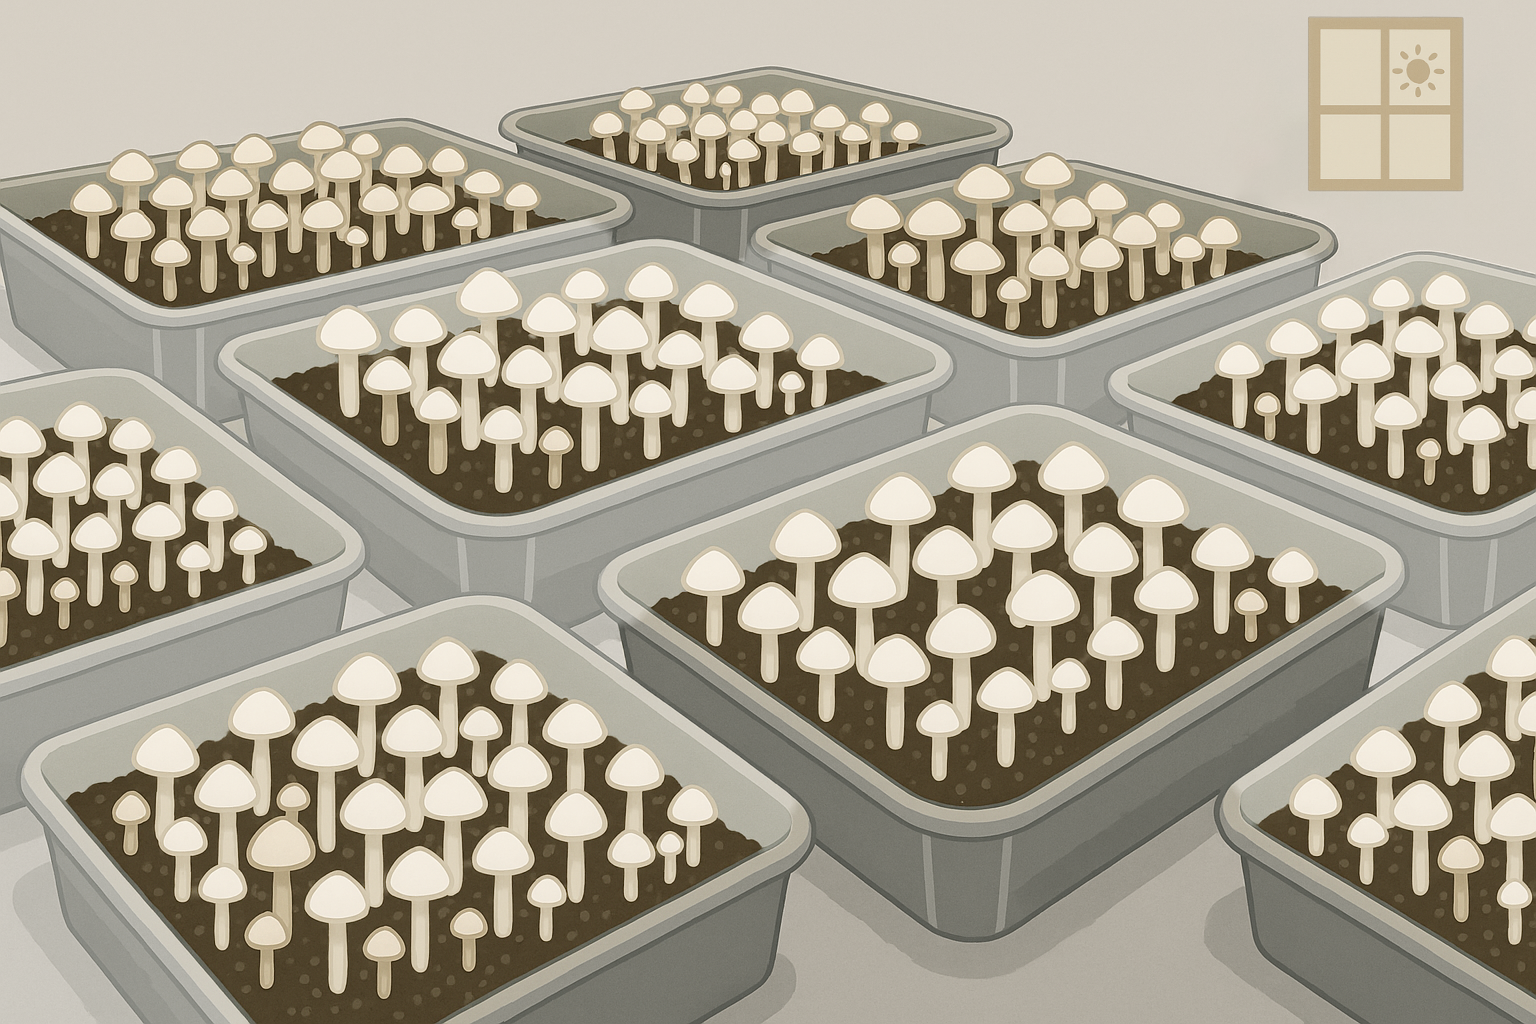
The method is easy to repeat and flexible. One large tote is convenient, but contamination can then spread through the whole tote. Several smaller trays are easier to manage: a contaminated tray can be discarded without affecting the others, and smaller trays can also float in the warm water bath.
The three numbered bags in the kit
- Bag 1 – substrate
- Bag 2 – grain spawn (spawn bag)
- Bag 3 – topsoil for the casing layer
Frequently asked questions
How long is the incubation stage?
The guide uses six to eight days with the lid closed, in a water bath kept at about 28 °C (82 °F).
When is the casing layer added?
After the substrate is fully colonised, usually after six to eight days. The casing mix is bag 3 of the kit.
Does the setup need artificial light?
No. The guide relies on indirect daylight, and the screen sits about 8 cm above the substrate.
Why do pins abort?
In this setup the usual causes are too little fresh air exchange or too little misting. Turn the lid at each watering, mist more often while pins are forming, and spray heavily at least twice a day to keep the surface moist.
Are GordoTEK kits available?
Not at the moment. The mushroom grow kits category shows the kits that are currently in stock.