There are many benefits to taking magic mushrooms: they allow you to offer a trip and experience memorable things or to perceive new perspectives on the human psyche. However, growing your own mushrooms can also be very interesting and fascinating, as an observer. Neither minerals nor animals, they have a unique functioning, which can be seen when you grow them yourself.
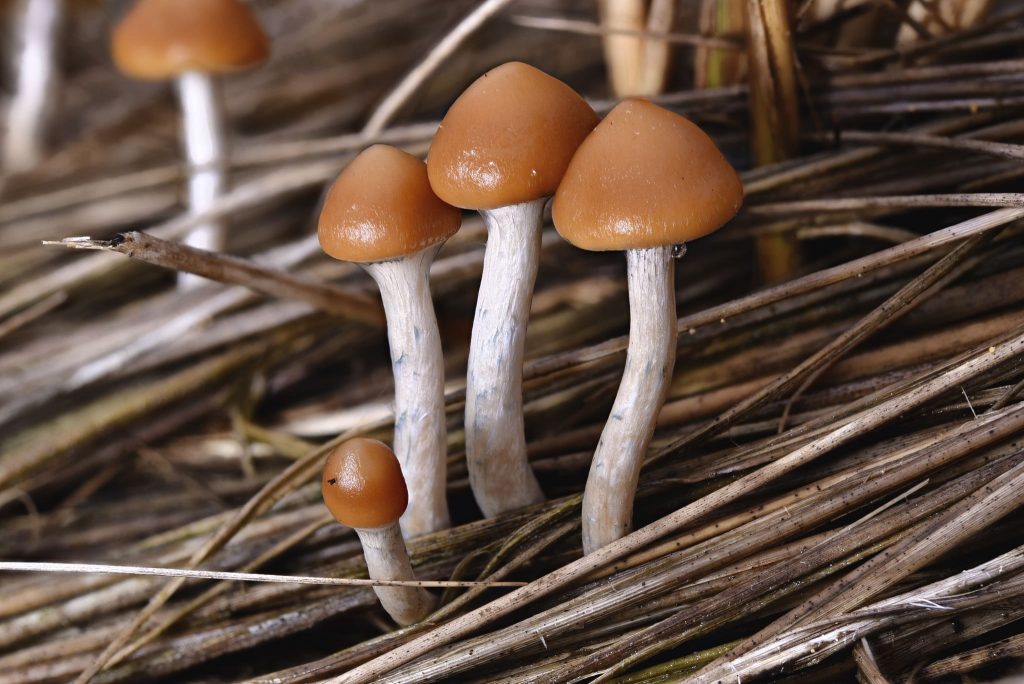
Psilocybes cubensis are the most widespread: it is the simplest mushroom culture. However, there are also cyanescens or azurescens, psilocybe mushrooms stronger than can also grow and grow at home.
The benefits of growing mushrooms
The cultivation of mushrooms allows better control and therefore possible improvements on their potency. It is possible to choose different varieties of mushrooms, depending on their aesthetics or their level of psilocybin and psilocin. Obviously, there is a certain personal satisfaction in the cultivation of mushrooms in seeing the fruit of one’s labor come to an end.
Several methods for growing magic mushrooms
To cultivate its first magic mushrooms, two paths can be offered to the future grower. You can choose to do everything yourself. This method allows total control, but requires a minimum of knowledge and a lot of rigor. It is not recommended for beginners and for those who have little time to devote to it. This method includes, for example, Monotub Tek or PF Tek.
They also require a lot of material, such as a box as well as raw material, such as coconut fiber for the substrate.
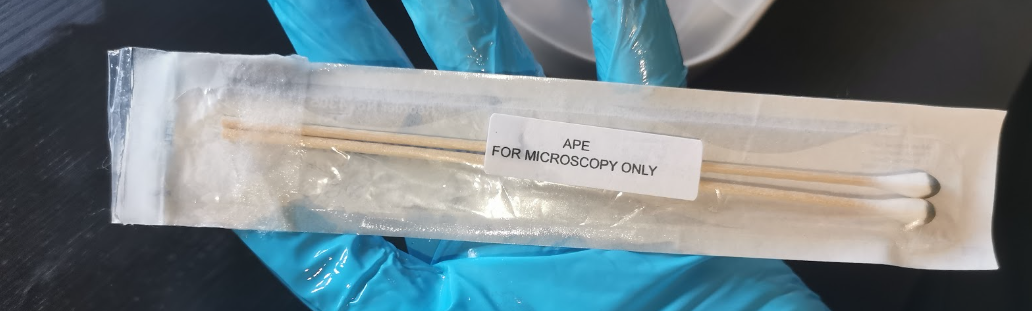
To start growing everything, you have to start from a stump, such as syringes, spore prints or a piece of fungus. It takes patience but it is the most cost-effective method in the long run.
As a second option, you can start from a grow kit. This method is simple and ideal to start and have your first mushrooms and for those who want to have a quick process. It allows you to learn how to grow mushrooms, as well as the basic rules of cleanliness. It is advisable to have grown several grow kits, with several grams of mushroom, before moving on to a more advanced method.
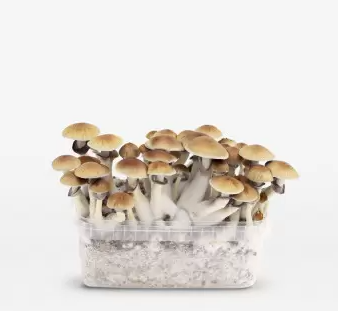
The grow kit: the different stages
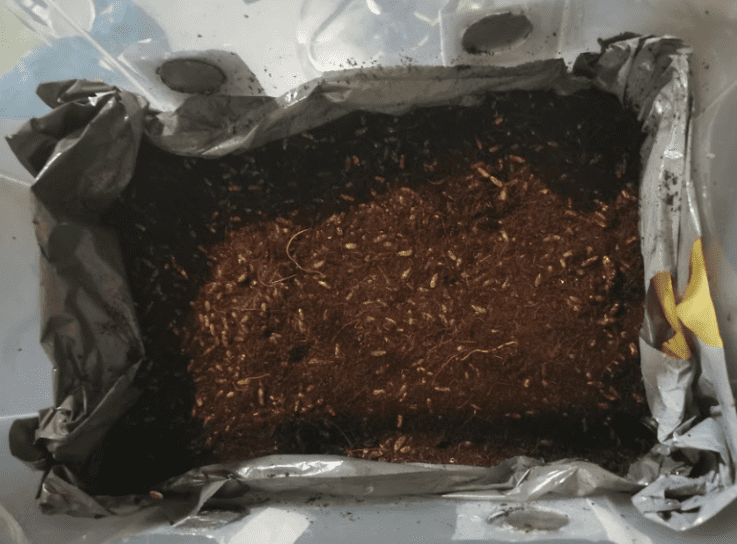
The grow kits contain the necessities to grow magic mushrooms. They are composed of a plastic culture bag, for optimal humidity, instruction documents and mycelium bread. This bread is composed of substrate that will maintain moisture, such as vermiculite or coconut fiber. There are grains colonized by the mycelium, which will allow the latter to expand in the substrate, and nutrients, often provided by manure that fungi love.
Obtaining this culture kit makes it possible to arrive directly at the colonization phase of the bread, and avoids having to compose your own kit.
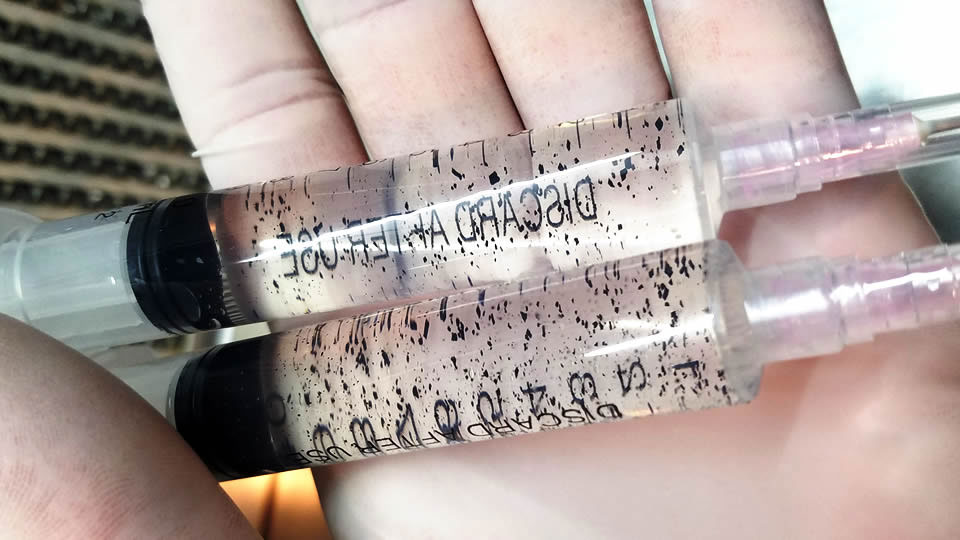
You can also opt for a blank kit, in which it is possible to inject spores through a syringe, via the lid.
Growing magic mushrooms step by step
The launch of the kit
When you receive your grow kit, you will be provided with a written manual, paper or scan, containing instructions: read it carefully before opening the lid. There are several types of grow kits: some need to be soaked between 9 and 12 hours in water and in a cold space, with the lid. It is then necessary to remove the excess water, then pour a bottom of water, in order to have a good maintenance of moisture. Others do not require spraying or soaking. Still others require spraying and soaking: this is why it is important to always read the instructions and follow the steps indicated by the documents provided with the kit.
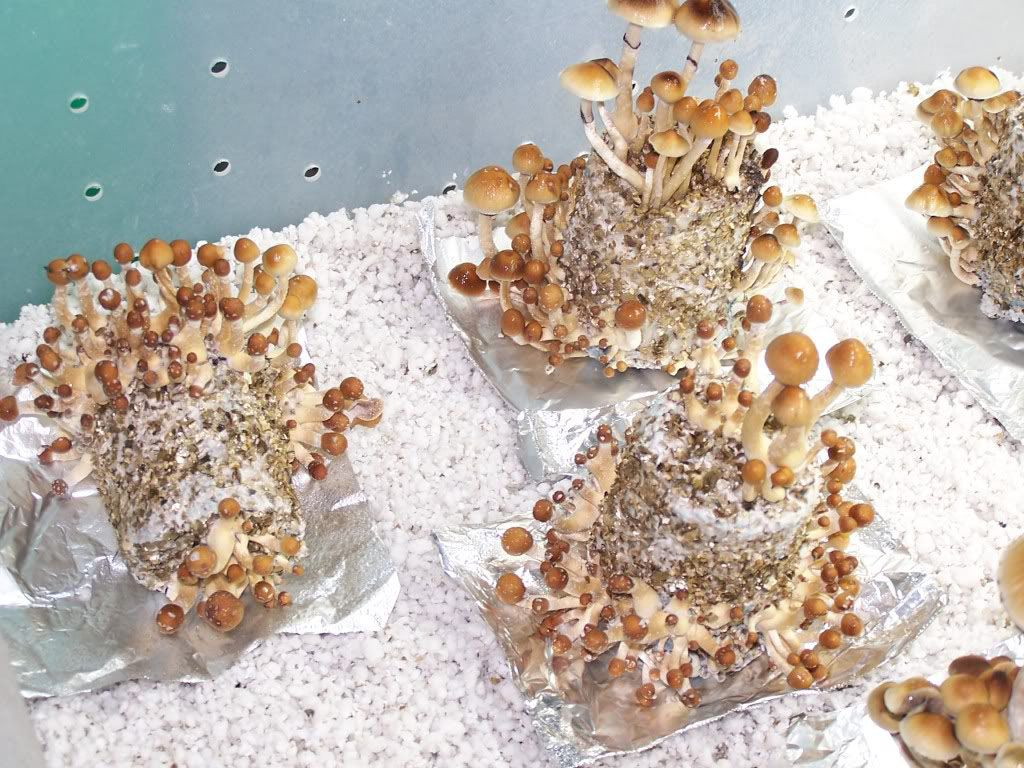
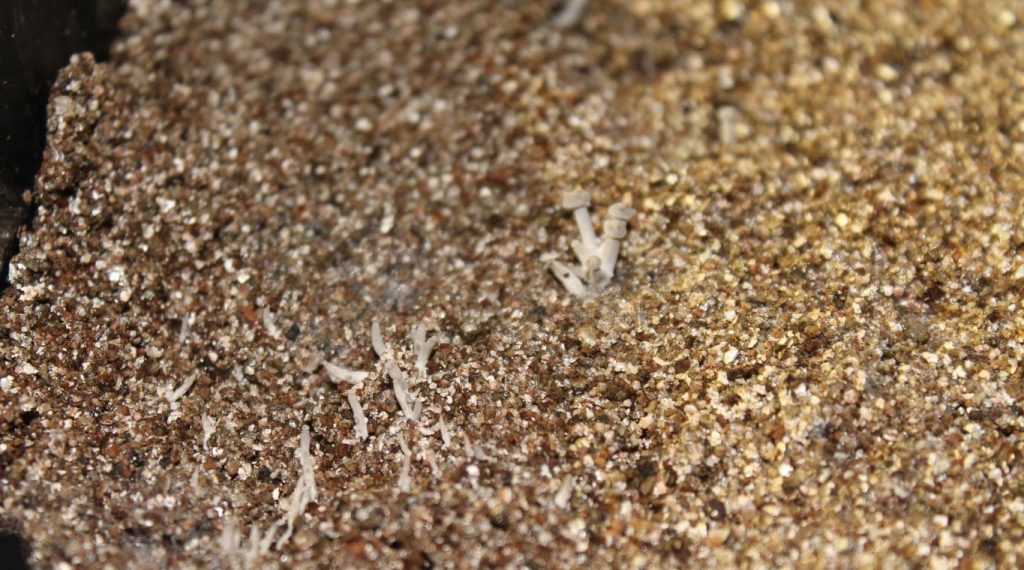
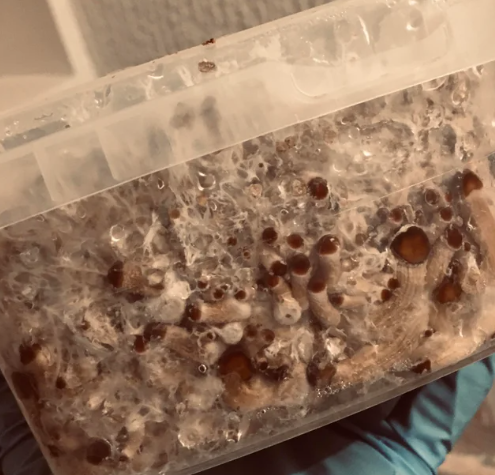
Fruiting
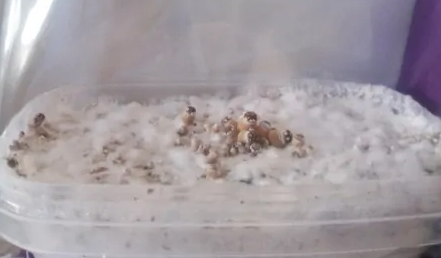
As soon as fruiting begins, that is, the first pinheads appear, then it is necessary to increase air exchange. It is often recommended to aerate 2-3 times a day, leaving the grow bag open for several minutes. This figure may vary depending on the climate of your room. If your humidity is too high, do not hesitate to ventilate a little longer or a little more often. Always be sure to place your grow kit in a place out of direct sunlight: this could kill them.Thereafter, the pinheads will grow, until (almost) all mushrooms become beautiful and large.
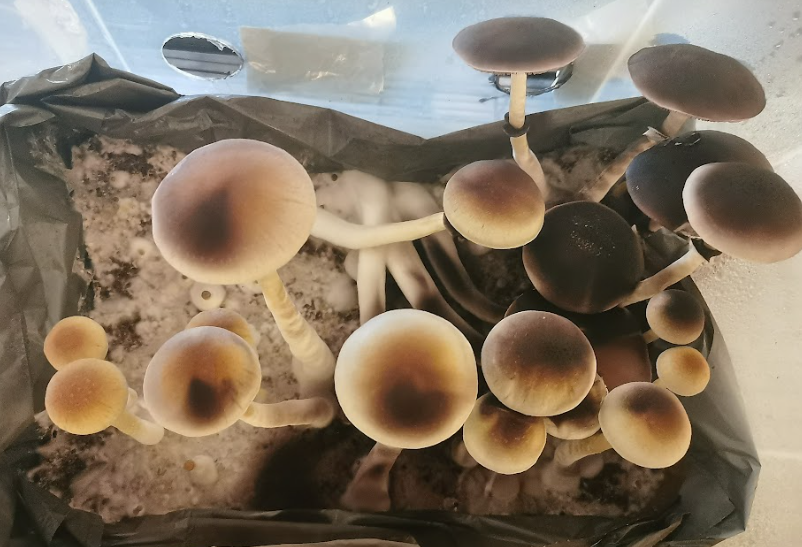
The harvest
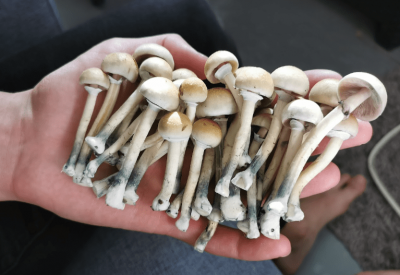
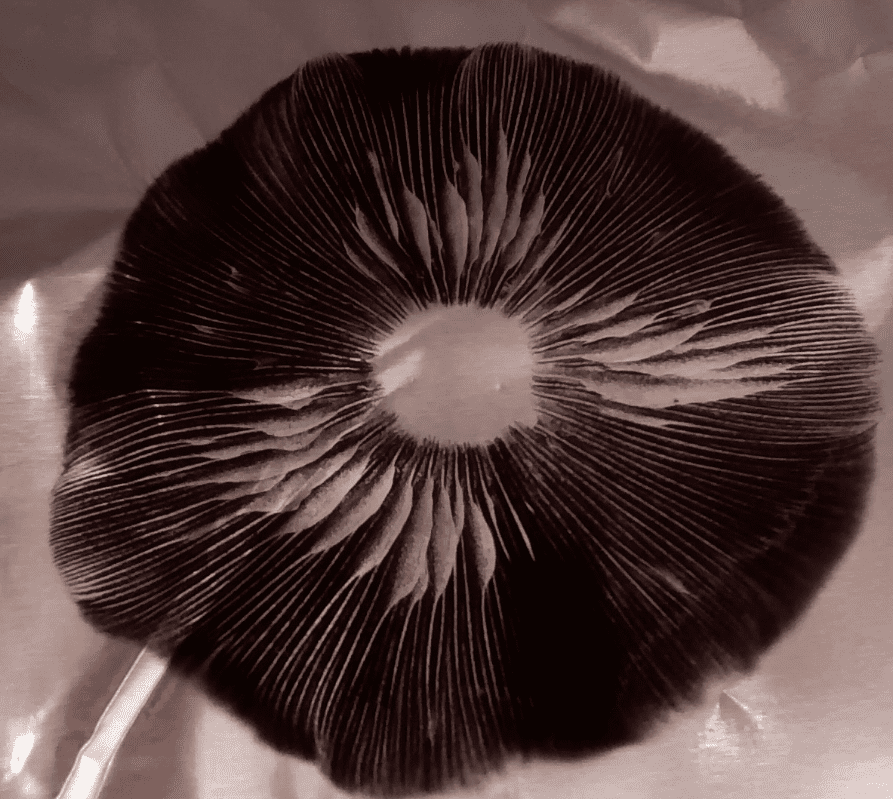
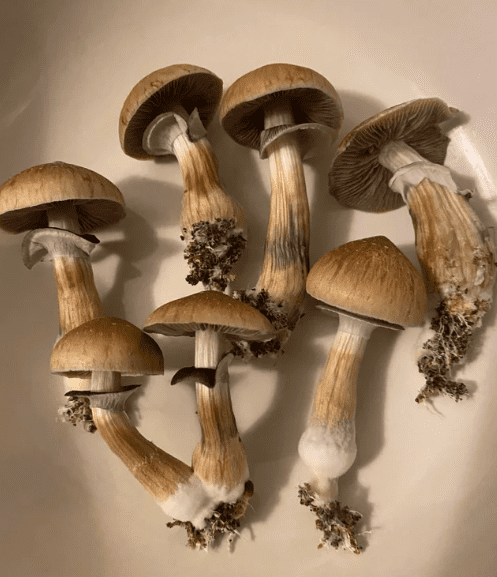
When your magic mushrooms start to have their hat brims lighter and their sails are stretched, you can harvest them. There is only a few hours difference between the tearing of the veil and the release of spores from the fungi, which is why it is important to always stay on the lookout.
The release of spore can jeopardize future harvests. If you are away for several hours, it is better to pick them before.

Always harvest as few crops as possible to reduce the risk of contamination. To pick them, twist the fungus slightly at its root so that it peels off and then pull it to leave the least residue. Do not forget to remove the substrate crumbs at the base of the fresh mushroom.
The launch of the next step
Start by cleaning your mycelium bread of aborted mushrooms, that is, small mushrooms that would not have succeeded. Good news: they are quite consumable.
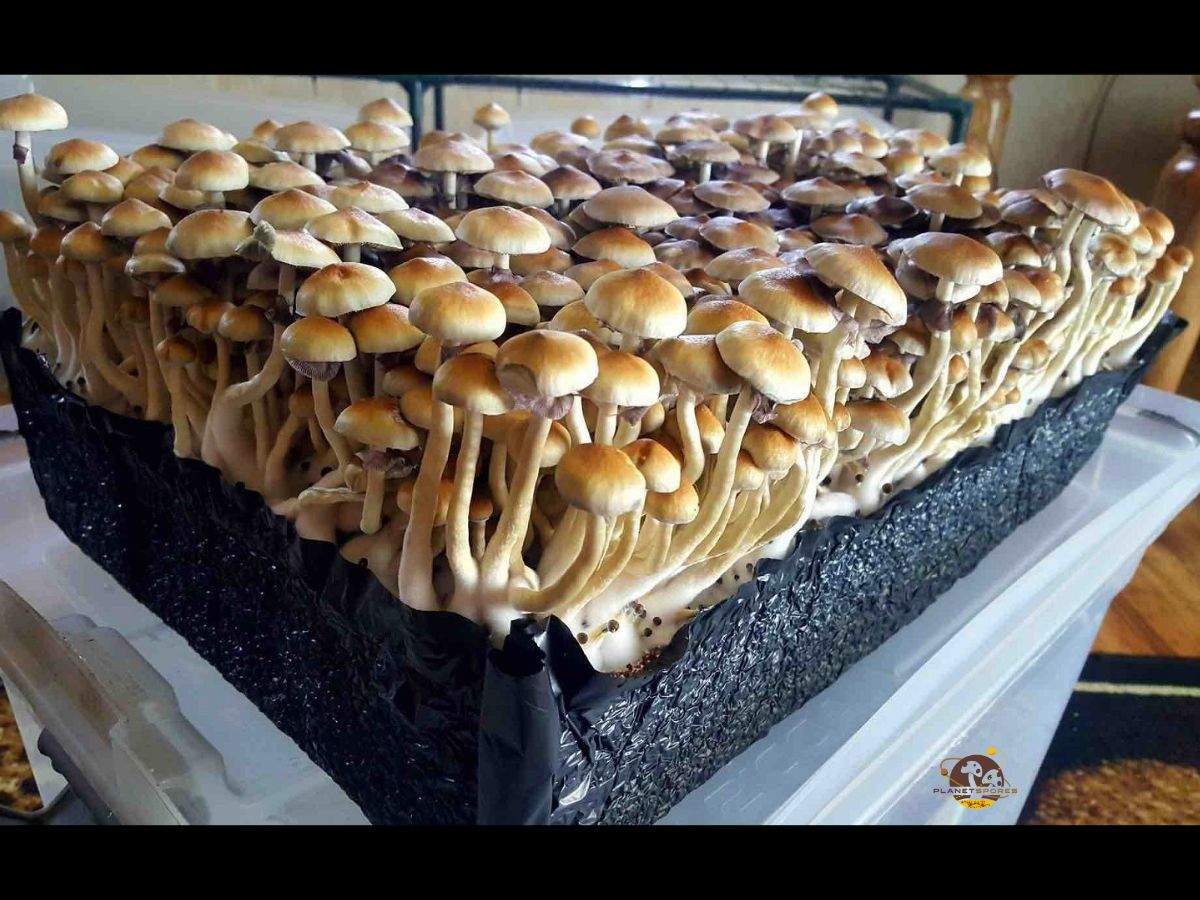
Once the mycelium is cleaned, you need to start the process again, starting from immersing the mycelium for 12 hours, and so on. A grow kit easily offers 3 to 4 harvests, and can even go up to 6, with good conditions (and luck!)
Tips to improve your growing skills
Grow kits make it easy to grow mushrooms. They are easy to use, and can perform well if you follow the indicated process. Here are some tips that are, most of the time, not written in textbooks but that can make a difference.
Cleanliness
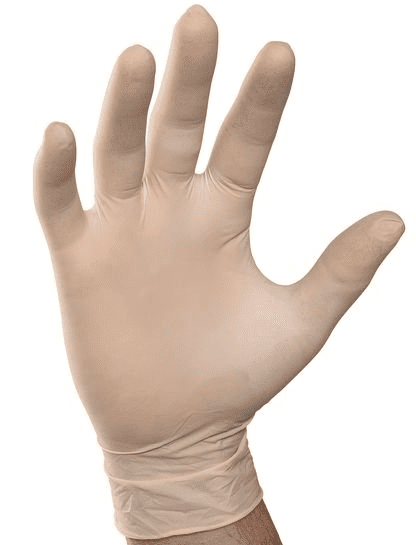
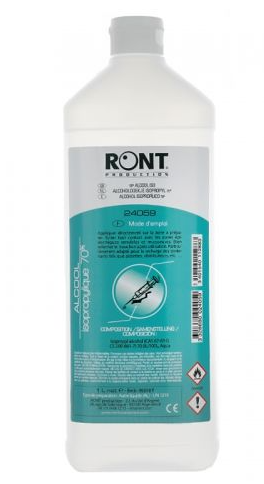
The most important factors if you want to grow mushrooms and avoid contamination, which would ruin all your efforts, are impeccable disinfection and cleanliness. For this, the use of clean, powder-free gloves and masks is highly recommended when opening your kit to spray or harvest. Disinfection with isopropyl alcohol 70% of everything that touches your mushroom culture is optimal.
The kit environment
Carefully choose where you decide to place your mushroom crop. Your room must be clean: regularly renewing the room where the kit is placed will further reduce the chances of contamination. Choose the place in your home where the air is warmest, especially in winter.
When relaunching your bread, place your tray in a clean refrigerator. Being a closed space, with something other than your grow kit, the risk of contamination is higher.
Avoid putting several mushroom grow kits close together. If the mycelium of one is contaminated, it may spread to the other kit. If you have no choice, and that, for example, you need to put them in the same box or box to improve the climate of the grow kit, be irreproachable on cleanliness and stay on the lookout for possible contamination when growing mushrooms.
Maintaining the 3 conditions: temperature, humidity and air exchange
90% humidity and around 23 and 25°C are optimal conditions for growing magic mushrooms. These two factors will be essential to have a good harvest, which is why it is recommended to have a thermometer and a hygrometer for more accuracy because these conditions can be difficult to estimate with the naked eye.
Too high a temperature or humidity promotes contamination, while the opposite can slow down or even stop fruiting and give a lower yield than expected.
Artificially increase the temperature
You have two choices. The first is the purchase and installation of heating mats. You can put it under the grow kit, slightly raising it by a few centimeters. The carpet will gain heat and your mushrooms will be able to grow faster. This method is effective and fast if you are only a few degrees missing.
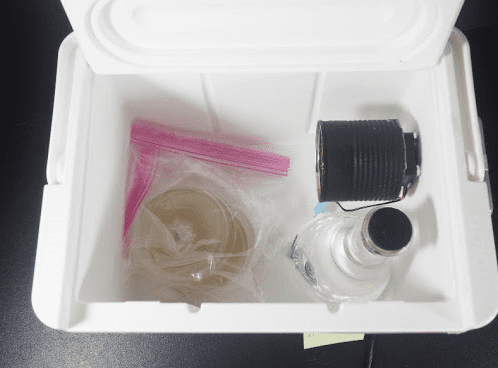
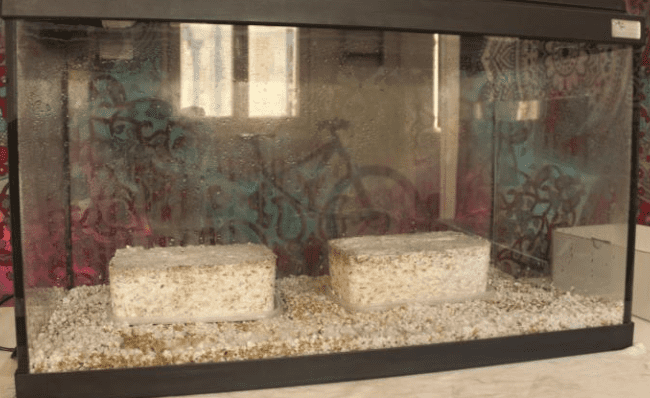
If the place where you put your kit is really colder, around 18 ° C, you can set up an enclosed space, in which you will increase the temperature artificially.
To do this, place your kit in an object that can contain heat: a cardboard, a plastic box, etc. Add a heating object: a heated carpet or mattress with thermostat, or an auxiliary heater. However, heat distribution is not even in the confined space.
The best option for growing mushrooms is a convection space heater: it does not cause evaporation and is not drying for your bread.
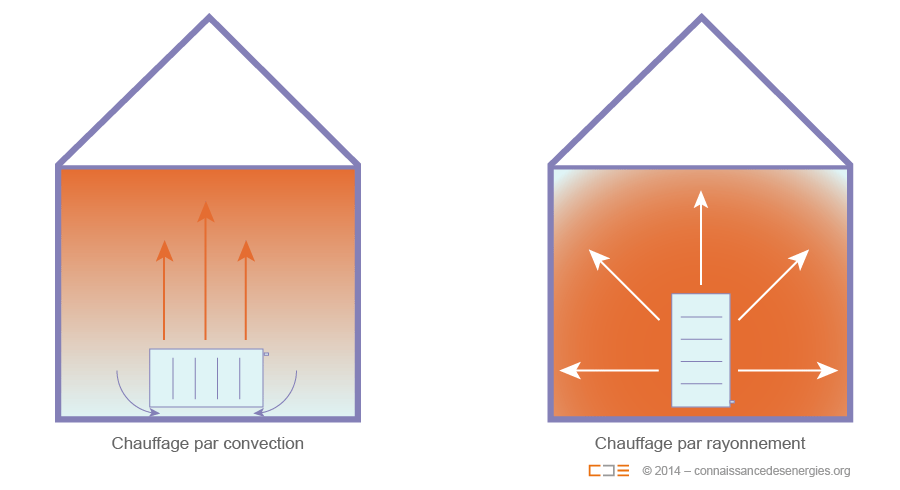
If you change your environmental grow kit like this, or if you add a carpet, do not forget to check regularly the days according to the growing conditions: humidity can vary greatly due to a variation in temperature and air exchange.
Air exchange is often forgotten but it is one of the three pillars of growing conditions. Infrequent air exchange can lead to too much humidity and the air becomes saturated with CO2, asphyxiating the fungi.
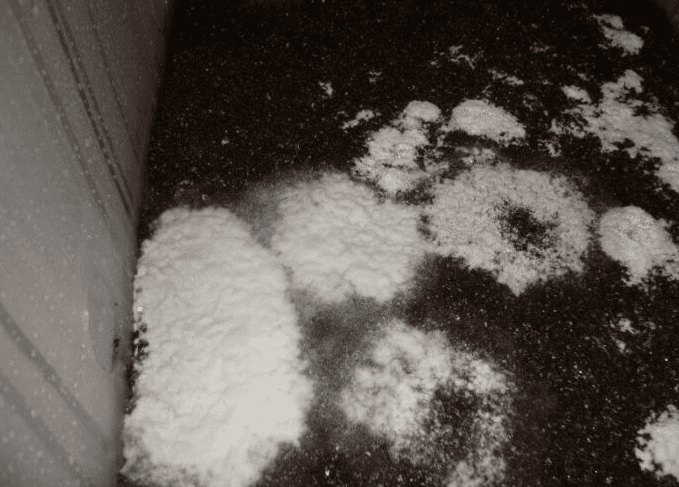
Why do mushrooms grow on the edges of bread?
It may happen that your mushrooms grow on the side of your kit. This is due to your climate, which is better on the side than on top of your mycelium bread.
In this case, you have 3 options: first, you can correct the climate on the surface of your bread and make it more conducive to growth.
The second solution, which is often preferred because the simplest: take your bread out of the bin and put it in an enclosed space. You can use an object like a salad bowl for example, to raise your bread if you need water at the bottom. This solution allows shoots to develop freely.
To avoid the problem next time, you also have the possibility to put a liner, that is to say a layer that will stick to the edge of the bread thanks to moisture, leaving no space for mushrooms to develop. A plastic bag, cleaned beforehand, or a new garbage bag cut can do the trick.

Water and light
Prefer dechlorinated water, chlorine can harm the growth of fungi. Leave your tap water for at least 48 hours in an open bottle. You can then use it for recovery or vaporization.
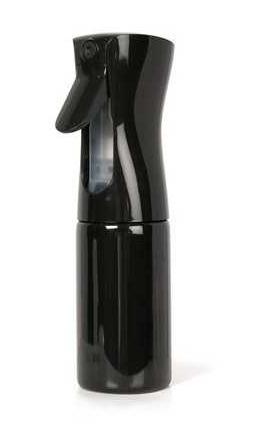
Opt for a very fine mist. The fine mist will prevent large drops from forming and you will also have better control of your humidity.
Natural light is enough, but if you have to opt for artificial light, prefer a light of 6500 Kelvin, which will allow you to grow your mushrooms optimally.
Recognizing contamination
Risk 0 does not exist and it is possible that your grow kit is contaminated.
Contaminations can be recognized (more or less) easily: it is anything that does not look like mycelium. If the texture, color or smell changes from the ordinary, chances are it’s that.
When mycelium looks like contamination
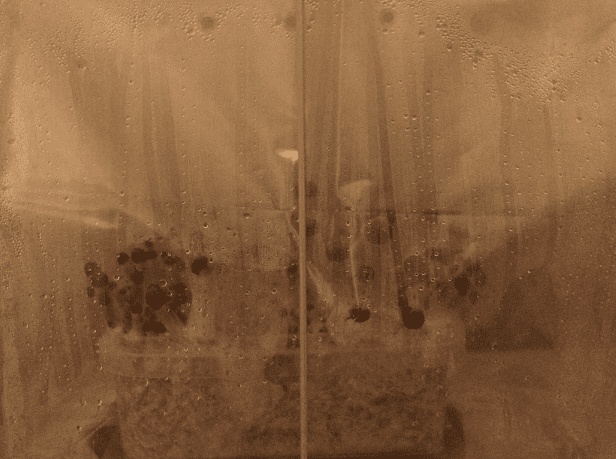
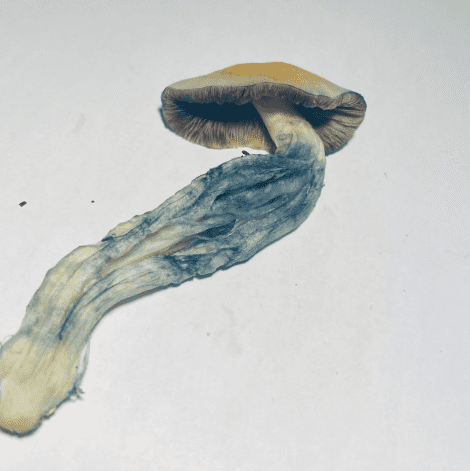
It is possible, and even common, for your bread to turn dark blue in some places. It is psilocybin that oxidizes on contact with air. This often happens when the bread has an impact, even slight, on this place.Moreover, this color also appears on the stem when mushrooms are harvested. These stains often appear after a harvest, or when certain drops of water fall on your bread, which is often a sign of probably too high humidity.
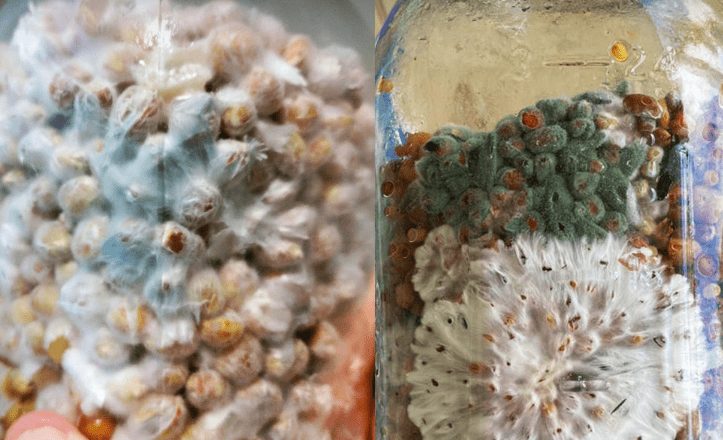
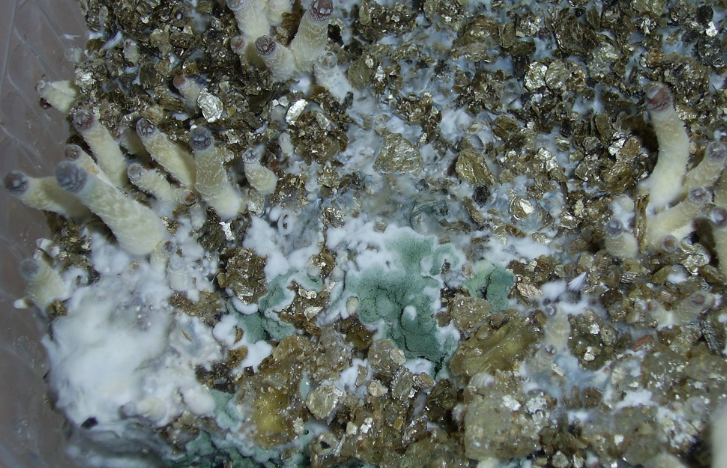
The different types of contamination
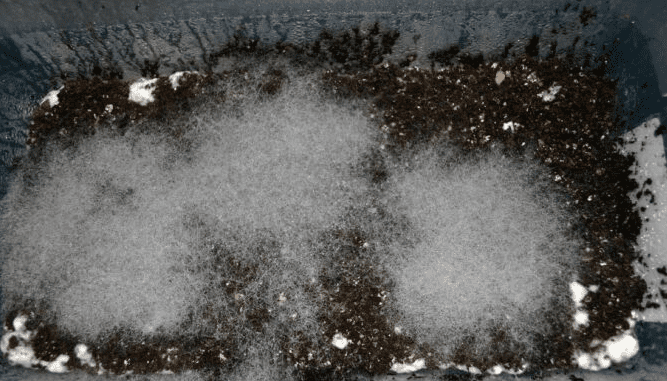
Among the most common contaminations are trichoderma, cobweb or aspergillus. They can take the form of yellow, black, green spots, irregular white markings in the mycelium or spider web that develops very quickly.
What do I do?
If ever your kit is contaminated, depending on the type of contamination, such as cobweb, you can try to clean it (in any case, you have nothing more to lose…). Unfortunately, it is common for the mycelium to be too damaged and can be dangerous so it is best to throw away your bread.
Preserving the powers of magic mushrooms
Drying
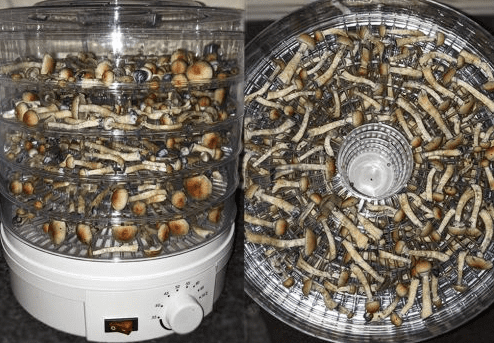
You can consume your mushrooms fresh or you can dry them to keep them longer, preferably with a dehydrator, with a fan or oven between 50 and 55 ° C. Be careful never to dry them in the light, so that they do not degrade and lose their psilocybin and psylocin.
Conservation
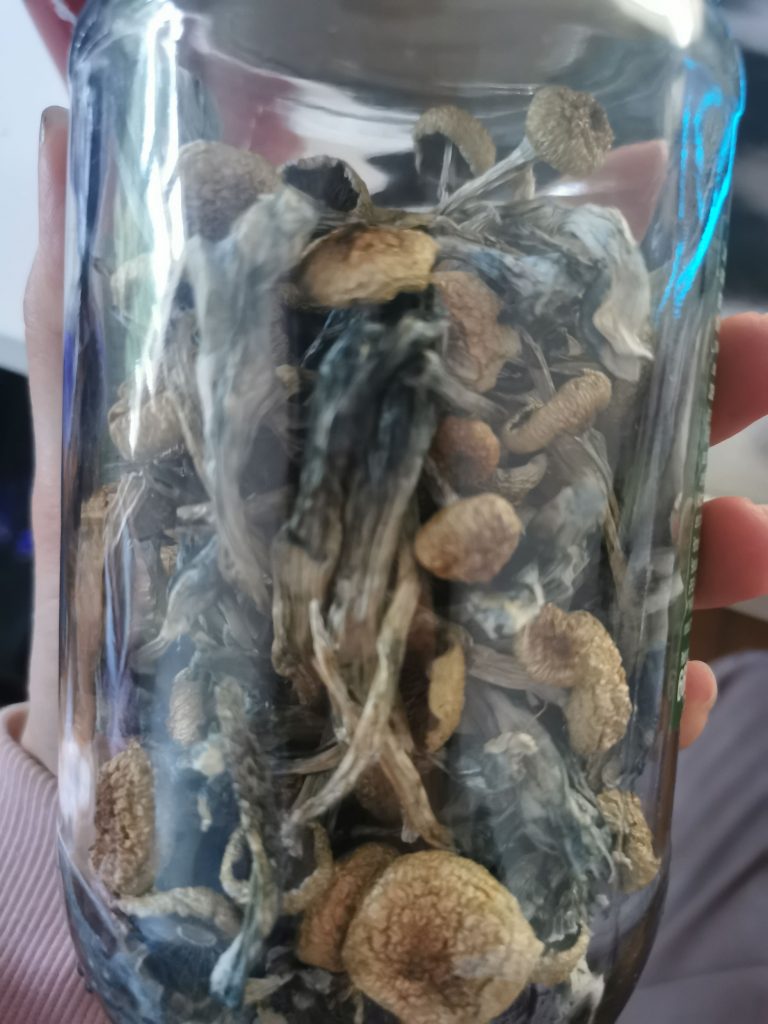
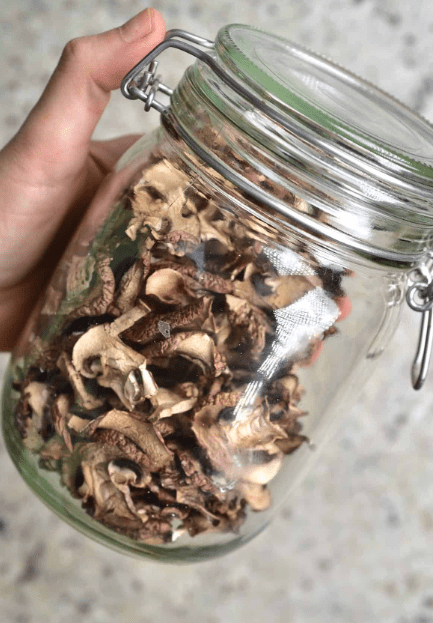
Once the drying is complete, it is important that the mushrooms crack when you try to twist them: this means that they are perfectly dry. Keep them cool and protected from light, in airtight boxes or jars, so as not to moisten them again. You can also add a bag of silica, to absorb the remaining moisture.
Growing mushrooms is a process that can be fraught with pitfalls, but the kits (and this article) make the mushroom growing experience easier: you can fully enjoy your harvest. Safe travels!